Set to open in 2025, Jack’s Bay in the Bahamas has courses by Nicklaus Design and Tiger Woods, and a new collection of luxury homes. The post Jack’s Bay unveils new residences, alongside courses by Nicklaus Design and Tiger Woods appeared first on Golf. Set to open in 2025, Jack’s Bay in the Bahamas has…
3 go-to drills to improve weight transfer in the golf swing
To help three of his students rotate and better transfer their weight, GOLF Top 100 teacher Tony Ruggiero used these easy tips.
The post 3 go-to drills to improve weight transfer in the golf swing appeared first on Golf.
To help three of his students rotate and better transfer their weight, GOLF Top 100 teacher Tony Ruggiero used these easy tips.
The post 3 go-to drills to improve weight transfer in the golf swing appeared first on Golf.
When you constantly find yourself hitting fat or thin shots, one of the biggest reasons why is weight transfer (or lack thereof).
For instance, when you lean back on a shot to try and help the ball into the air, you’re giving yourself almost no opportunity to get the low point of the club to the ground. If you don’t get the low point to the ground, you won’t make ball-first contact that maximizes each shot.
The goal is to rotate all the way back and through, finishing with your weight shifting towards your front foot at impact.
Naturally, every amateur golfer struggles with this — yes, even low-handicappers — so you’ve got to learn (or sharpen) your fundamentals in order to achieve the contact you’re looking for.
To help, I tapped GOLF Top 100 Teacher Tony Ruggiero, who described a scenario with three of his students who just couldn’t properly transfer their weight. So he gave them three exercises to improve their posture and weight shift, leading to better shots in the process. Check out Ruggiero’s tips below.
3 ways to improve your weight transfer
“Recently, I’ve had a few students struggle with getting to their lead side on the downswing,” Ruggiero tells me. “Each of them were just trying to make their lead side turn out of the way, and all three were having trouble posting up into their lead leg, and instead would fall back onto their trail foot at impact.”
Here’s how Ruggiero cleaned up their swings and helped them get onto their lead foot and properly rotate through the ball more efficiently.
1. Wind up like a pitcher in baseball
Golf is a rotary sport, so you need to feel like you’re winding up like a pitcher into the trail foot, then push off to land on the lead foot. By doing this correctly, the trail side releases through the ball.
So, how can you feel this?
First, you’ve got to wind up into the trail foot — but don’t confuse winding up with twisting, because they aren’t the same thing. As you turn, you need to create pressure against the ground, which gives you more leverage to push off of if you keep the pressure on the inside of that foot.
Students who get the pressure twisted way to the outside of the foot have less to push off of, which often leads to them leaning over onto the lead side rather than driving onto it.
In the video above, we use a resistance band and half a foam roller to help demonstrate how to properly load into the whole trail foot, providing the most leverage out of the top.
2. Learn to push off the trail foot
By pushing off of the trail foot in your backswing, the weight will then transfer to the lead foot as you come down through impact. As a result, the lead hip will start to rotate out of the way and clear.
In the video above, we use half of a foam roller as a wedge, which gives a player leverage to push off from — again, similar to how a pitcher in baseball pushes off the rubber. This will help create the feel for how to shift pressure in your backswing.
In addition to the half foam roller, we also used a resistance band and incorporated a punching motion to help feel the drive off the trail leg in order to rotate through the ball. By merging these two drills, it can help you feel the new movement as your brain learns it.
3. Maintain contact with the ground while getting over to your lead side
Many amateur golfers get to their lead side by sliding or leaning, which, as a result, gets them going too far past the ball and onto the outside of their lead foot.
But here’s simple drill to fix that.
After cutting a tennis ball in half, we put one half under the big toe of the trail foot and the other half under the lead foot. The goal here is to feel the big toe push against the tennis ball as long as it can while pushing off the trail foot, with the result being more force to help drive the lead hip up and out of the way of the lead side.
We then added a drill that I learned from Dr. Scott Lynn, where we use a resistant band and a pivot drill — which is simple and easy to do.
Just get in your golf posture, hold the band across the back of your upper legs, loop a band around the shaft and loop the other end around a cart or anchor on the wall (check it out here), and now just turn into a posted finish position. It’s easy to do and creates a great feel and sensation, teaching your body a new movement.
“If you struggle getting onto your lead leg or feel like you lose speed through the ball, these exercises and drills can help you,” Ruggiero adds. “They can give you a feel to play with, and provide a way to learn a new move much faster.”
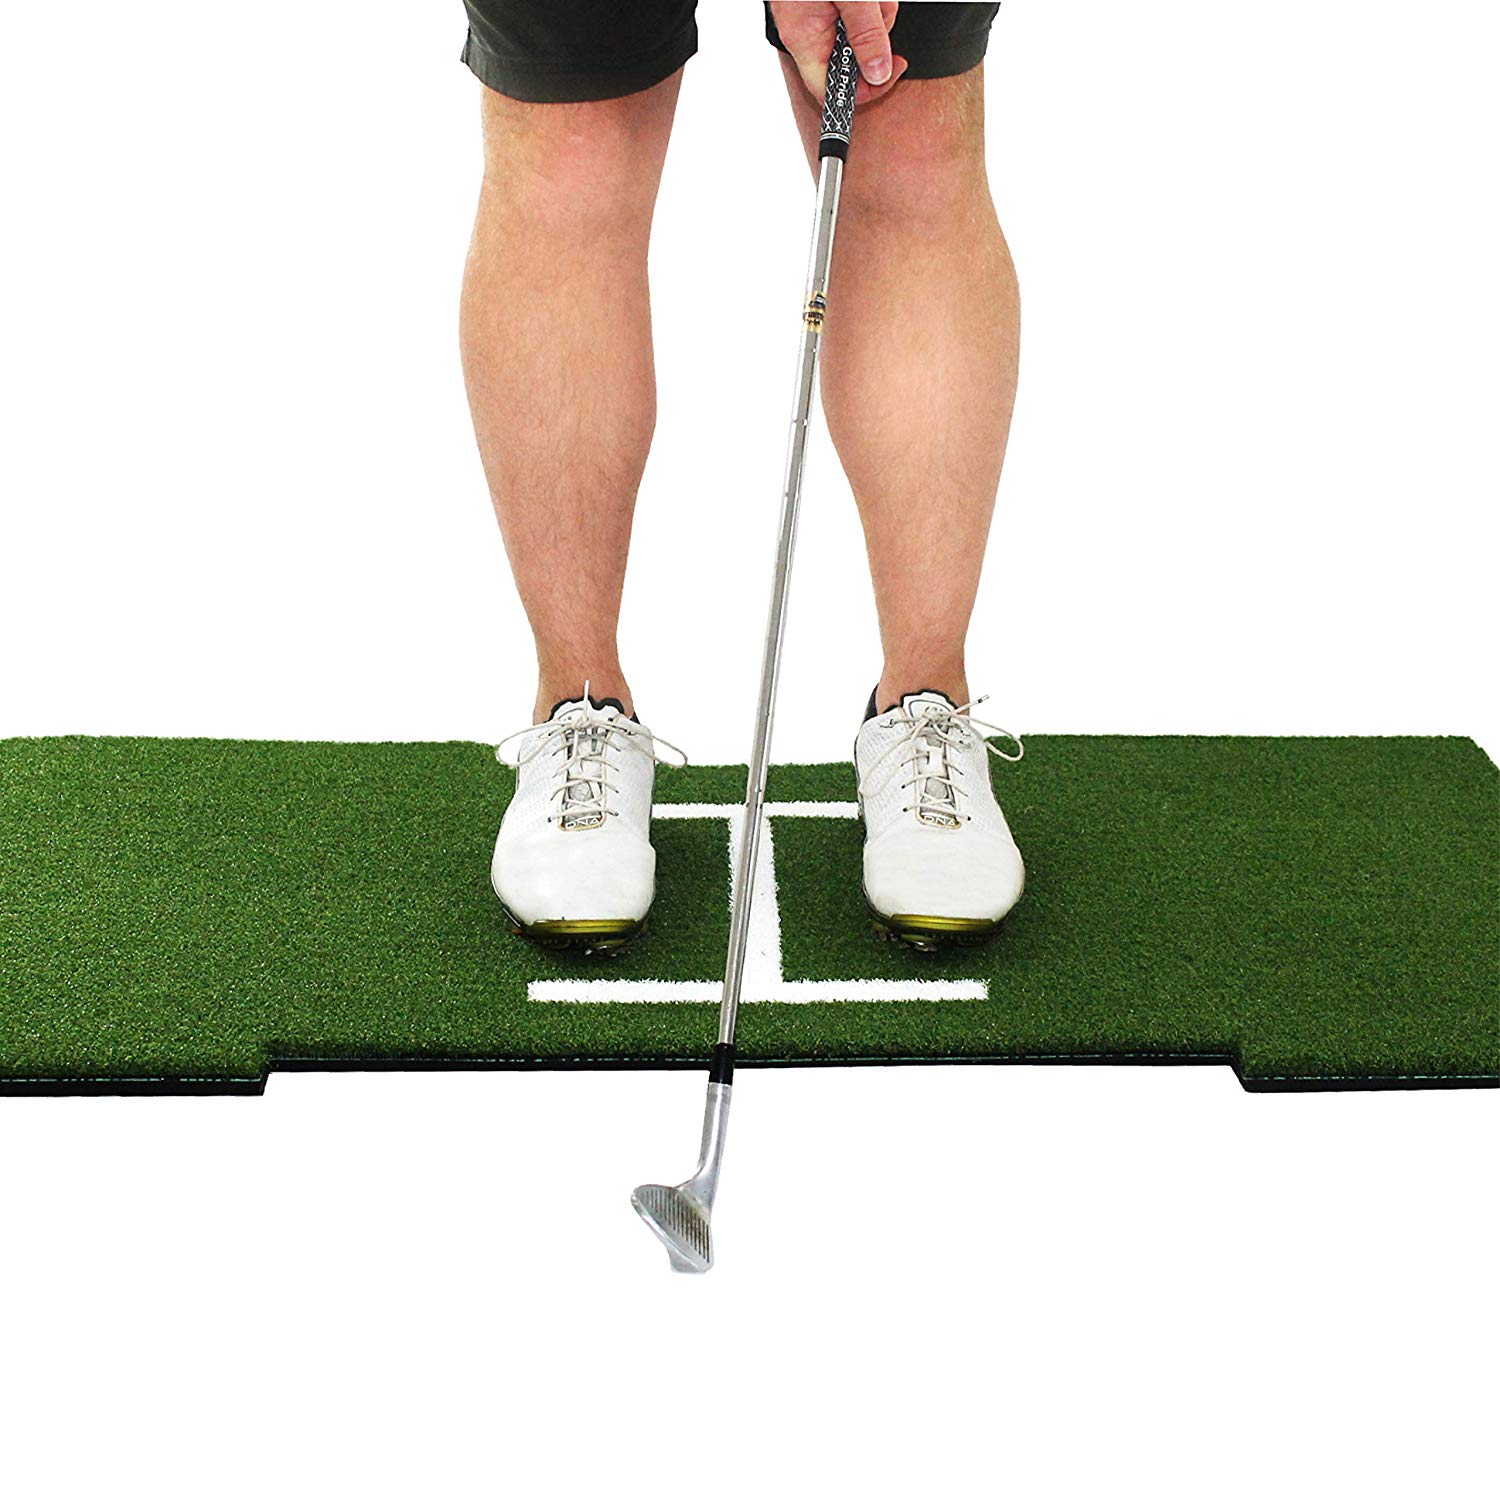
Rukket Sports Standing Turf Mat
$109.99
Features PRACTICE FROM HOME: The perfect addition to your home practice arsenal is here. The new Rukket Sports Level Up Mat Expander will make sure you’re hitting from a level plane while giving you a graphic for your feet placement. The Level Up Mat Expander fits all existing Rukket turf hitting mats.
HIT FROM A LEVEL SURFACE: When your practicing at home you want to feel as though your on the course hitting your approach shots to the green. Practicing from a level surface increases your consistency in your ball striking and transfers perfectly over to the course.
PERFECT YOUR STANCE: The alignment graphic allows you to set your feet up for practicing any type of shot. Whether it’s a high fade, low draw, stinger, or standard approach you’ll have everything you need right at your feet.
FITS ALL RUKKET TURFS: Cutouts on either side of the mat fit all existing Rukket Turf Mats securely for extended practice sessions. No more having to adjust the mat after each hit which means more time practicing. Product Specs
24 in x 48 in
What’s in the Box
(1) Rukket Level Up Standing Mat with an alignment graphic
RUKKET FAIR PLAY GUARANTEE & LIFETIME WARRANTY: At Rukket Sports we know you came to win. We also understand that in order to win you need to train hard, so that’s why we’re proud to offer the Rukket Fair Play Guarantee & Lifetime Warranty for no-risk purchasing plus outstanding USA-based customer service!
View Product
The post 3 go-to drills to improve weight transfer in the golf swing appeared first on Golf.


